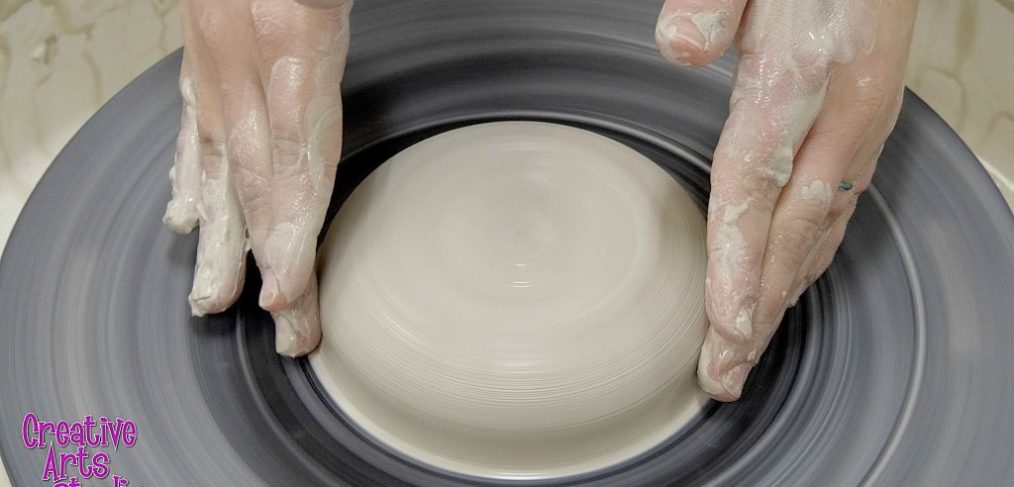

The first dizzying challenge for most newbie potters is how to center clay. Centering is the process of evenly distributing your mound of clay on the middle of the pottery wheel before creating your piece. It’s a tricky step and tends to produce a lot of silent and audible screaming.
The reality is simple: centering is frustrating but essential. A shiny, centered mound of clay is the starting point for all shapes on the wheel. Centering allows you to shape your clay evenly, which gives you a fighting chance of making a symmetrical piece. It could happen, right?!
If you’re struggling, rest assured, you’re in good company. All potters have struggled too, and our studio can help you get better. So sit back — or better yet, hunch over your wheel — and follow along as we go step-by-step through the centering process.
1. Centering Prep
You might be tempted to skip the prep, but these steps will make centering easier. Trust us!
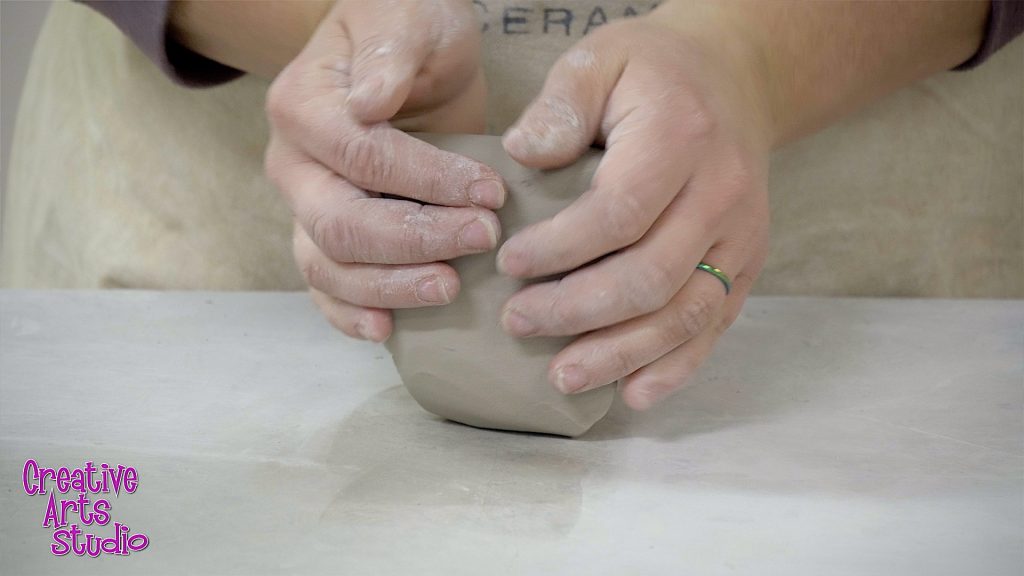
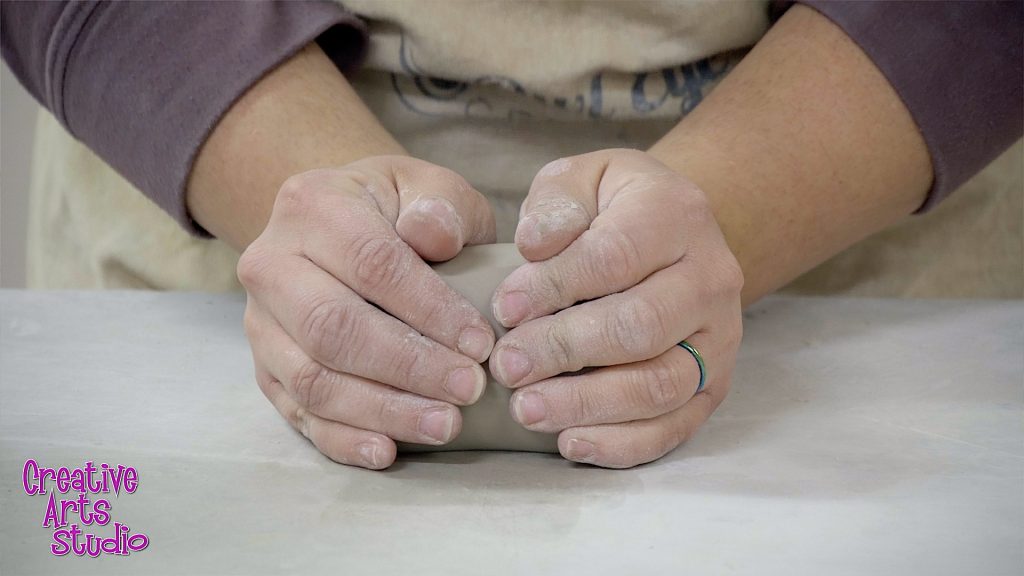
Wedge the Clay
Wedging will give your clay a uniform consistency and help with centering. Roll the clay forward and downwards, slowly folding the clay into itself one layer at time. Spending a minute or two doing this will make your clay easier to work with.
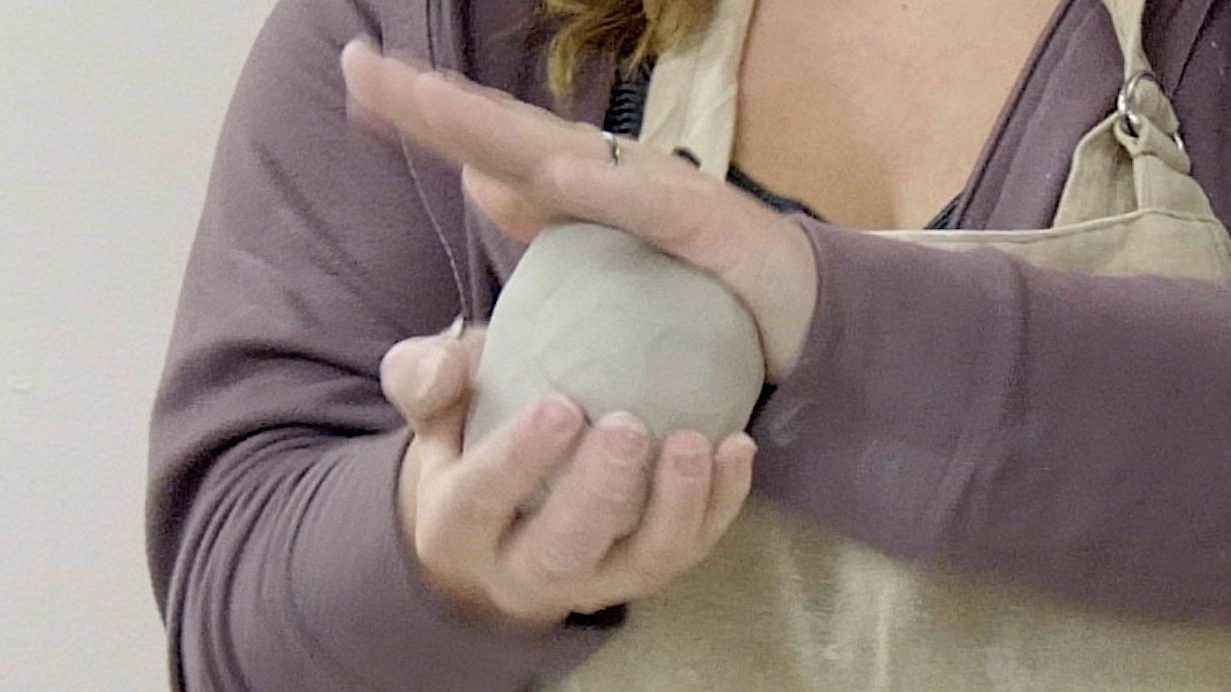
Make a Ball
After the clay is wedged, use the heel of your palms to bat the clay around and turn it into a ball. This shape is the easiest to center.
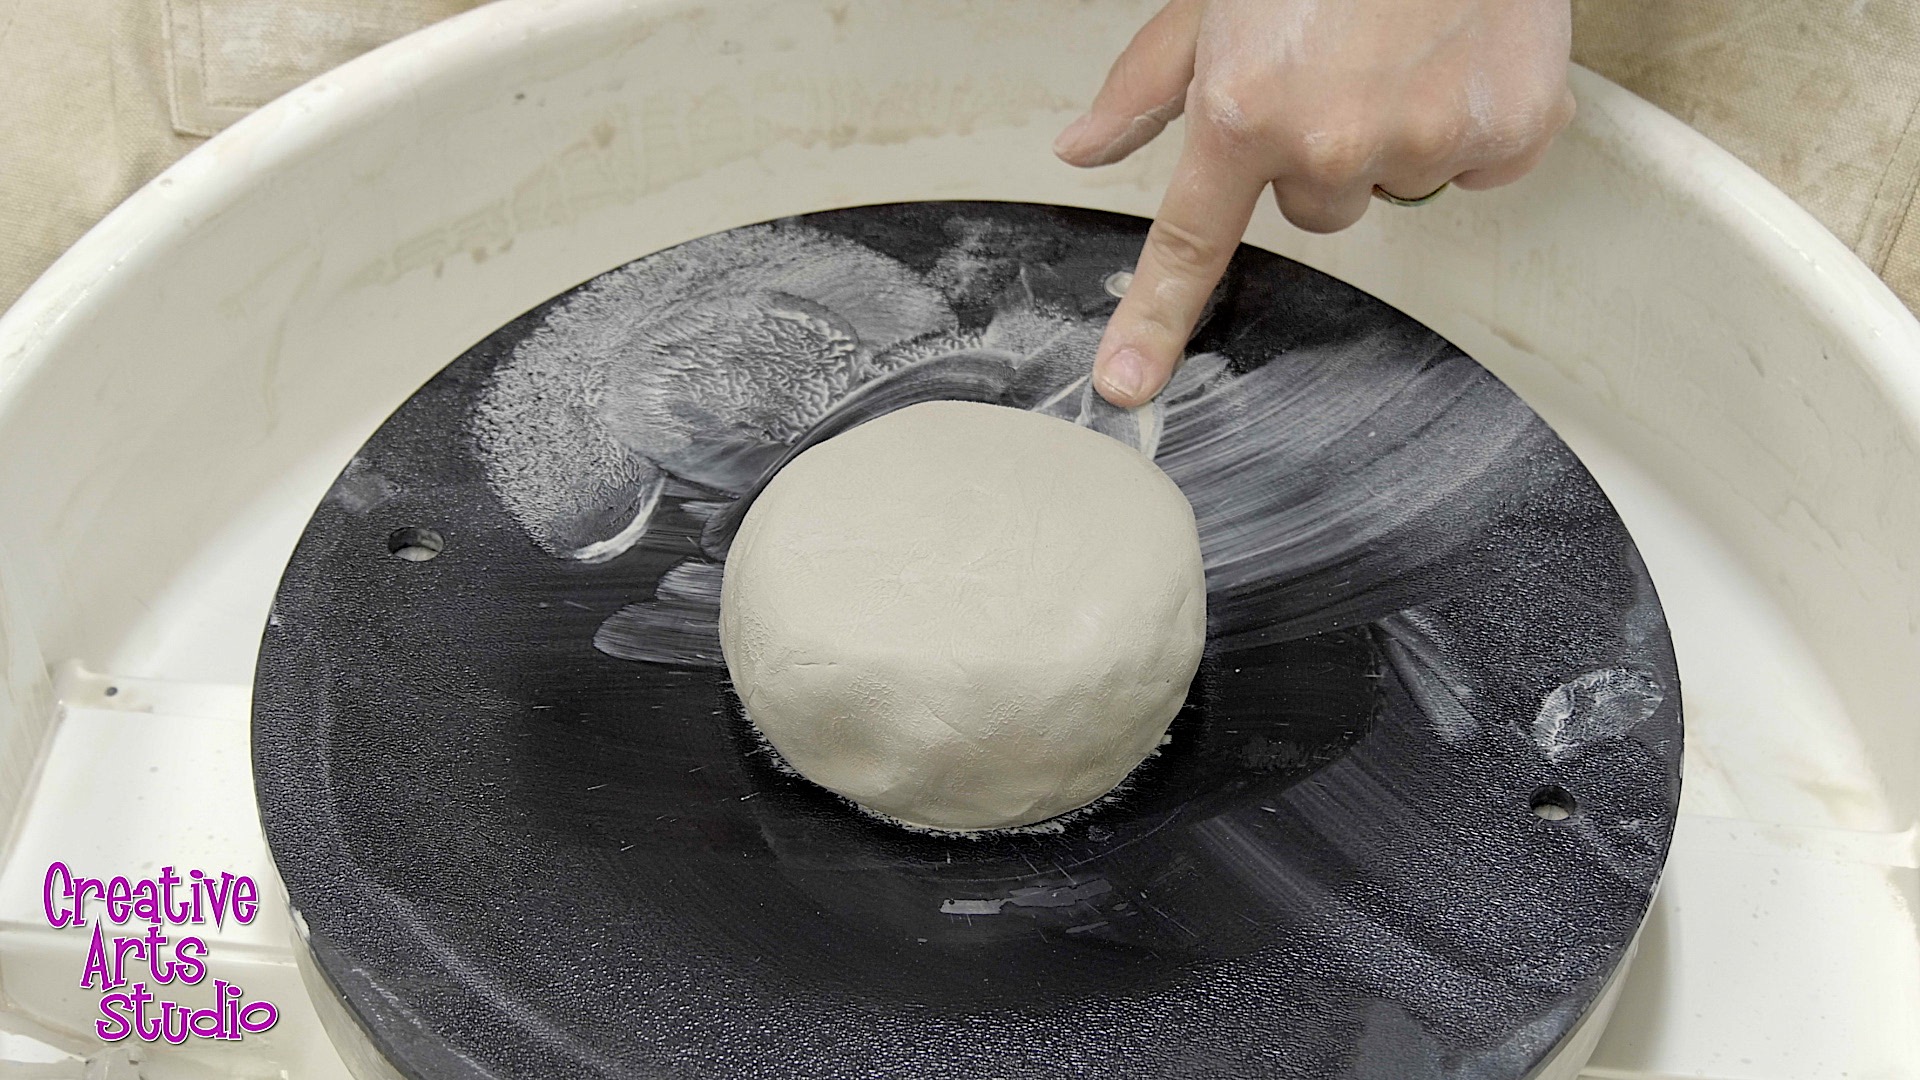
Stick the Clay to the Wheel
Stick the clay onto the center of the wheel. Try to get the ball as close to the center as possible.
Remember, the ultimate goal is to have the clay centered, so help yourself out by putting the clay in the middle to begin with.
Use an index finger to push down on the base of the clay as the wheel spins to create a tighter seal between the clay and wheel.
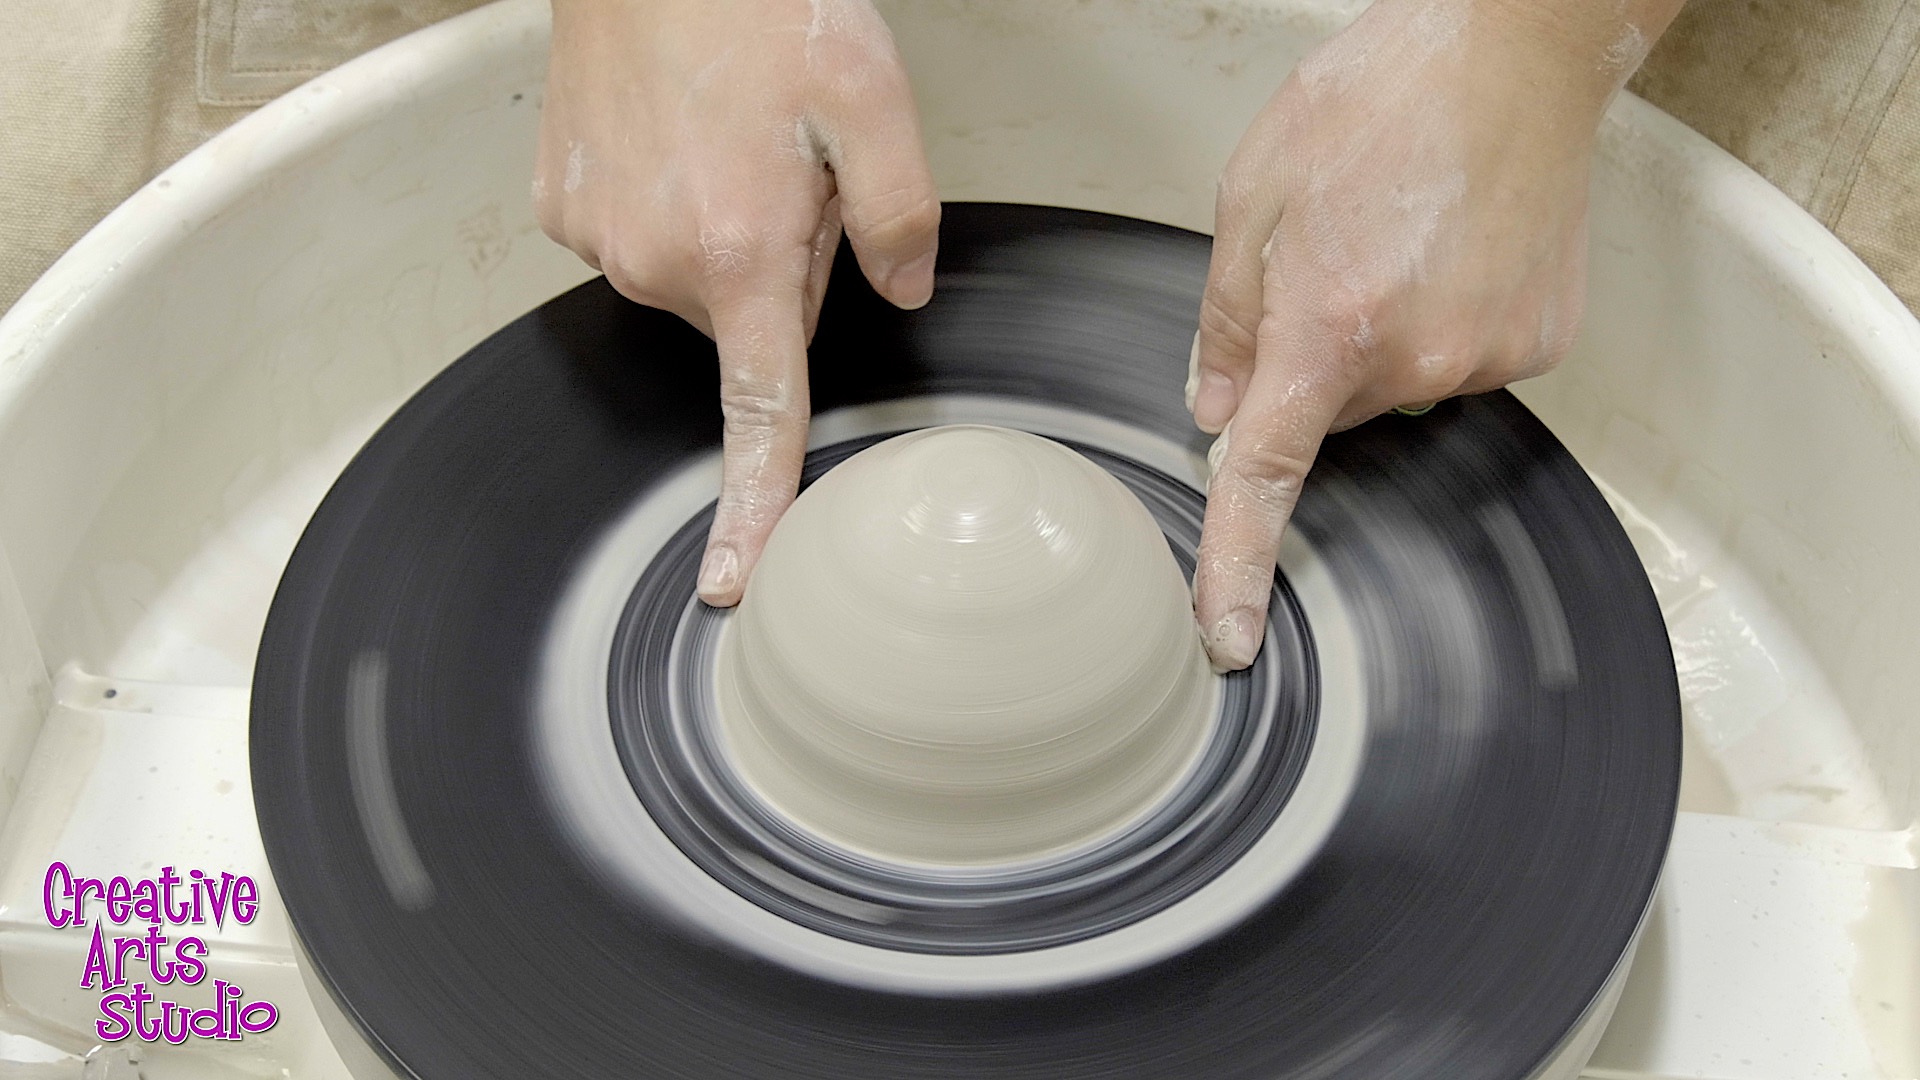
2. Cone Up
Coning up helps align the clay particles and is a continuation of the wedging process. In fact, some potters refer to this step as wheel wedging.
Wrap your hands around the clay and squeeze inward with the heel of your hands. The clay will be forced upward and will create a cone shape. Use a high wheel speed to make this part easier.


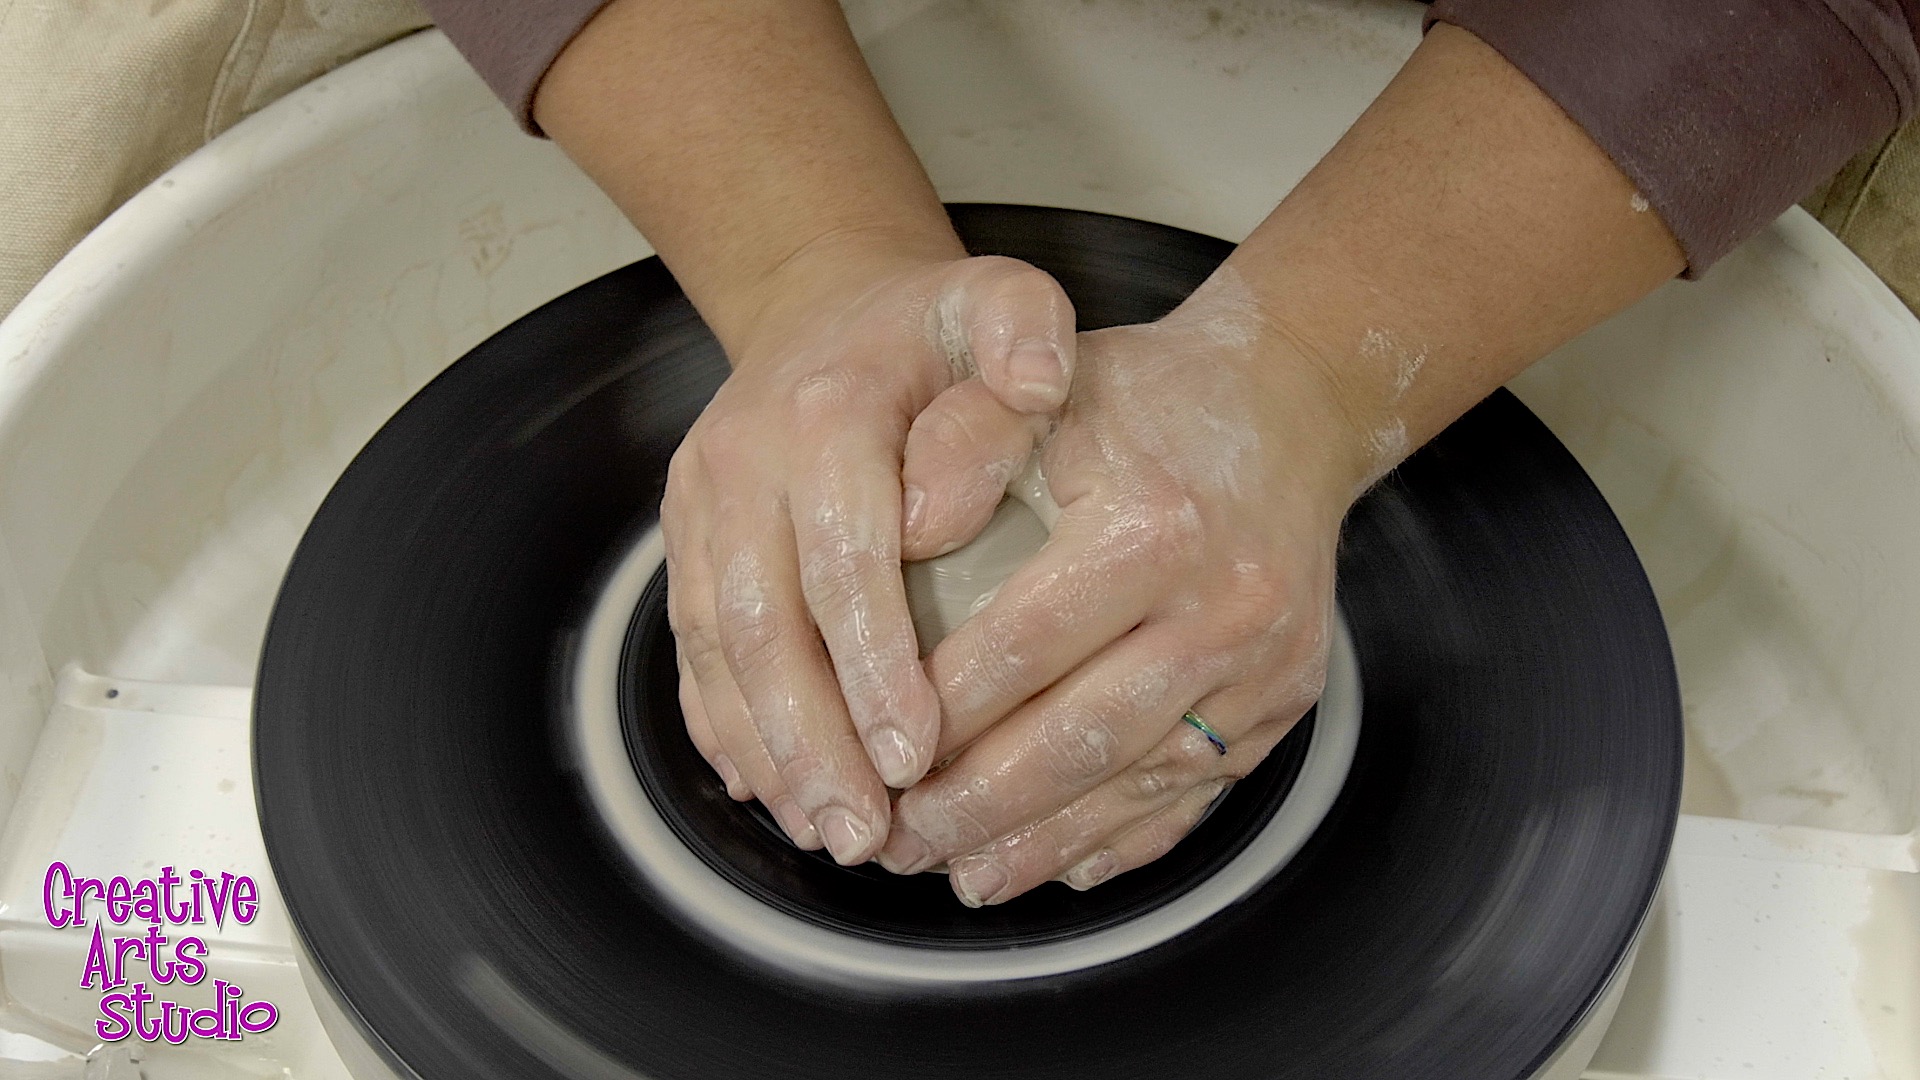
3. Cone Down
Finally, the main event! This is the toughest of part of learning how to center clay.
We want to force the clay downward and control it to the center of the wheel. Use a high wheel speed for this step. And add water!
Most potters will brace the clay with their non-dominant hand and push the clay down with their dominant one.
- Hook the elbow of your non-dominant arm into your waist and extend your arm straight out in front of you.
- Cup the side of the clay with your non-dominant hand, with your pinky touching the wheel head.
- Now lean your whole body into the clay for maximum control.
- With the side of your dominant hand, push the clay downward .
- Use the palm and fingers of your non-dominant hand to brace the clay and control how the clay distributes itself on the way down.
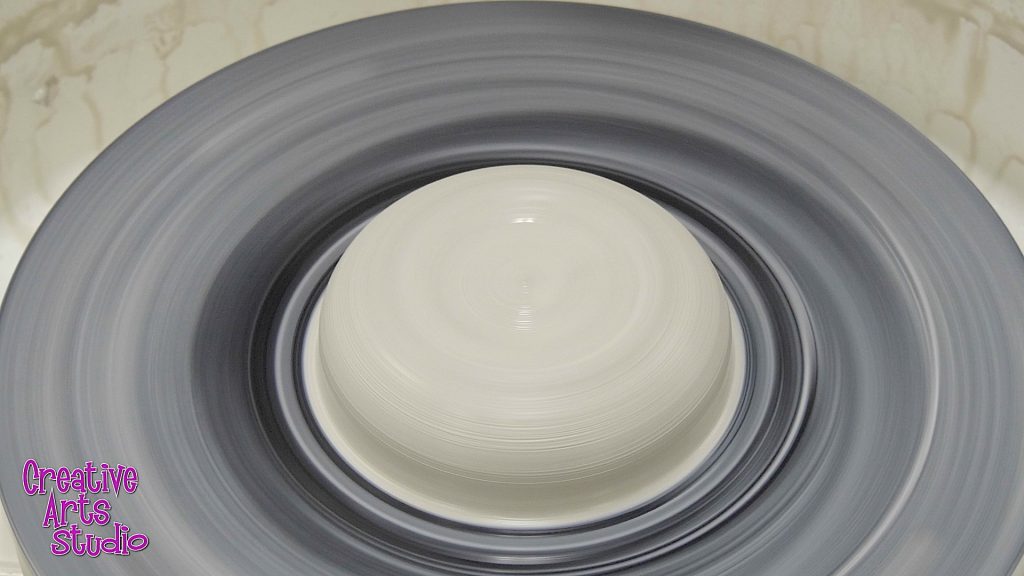
Some potters prefer to create dome shape, while others flatten their pieces into a hockey puck. The choice is yours!


Conclusion
Learning how to center clay is an essential part of throwing. Bowls, mugs, vases, and everything in between all start as centered pieces of clay.
Prep the clay so it’s easier to work with and then use your non-dominant hand to brace the clay while your dominant hand forces it downwards. Experiment with your body position and hand placement until you find the right combination.
It takes practice! And nothing beats an in-person instructor. Creative Arts Studio offers wheel throwing classes to learn all these tips and more. Happy throwing!
